Electronics, Programming, and Robotics
In late April and the beginning of May, STEM Marin was introduced to the concepts of electronics! We were given a bunch of assigments and tasks we had to complete in the upcoming months. Our end goal was to create a light show using the new computers and Arduino sets that were provided for us, Along the way, we got familiar with breadboards, alligator clips, wires, light bulb sockets, and more. This was definitely the most challenging task yet, we were kept busy for sure!
Alligator Clips
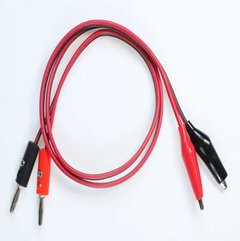
This part of our electricity unit was for sure the most hands-on. We used wires, light bulb sockets, and alligator clips to learn how electrical circuits function/don't function. For example, if one end of the wire isn't connected to the battery, the circuit is not complete. I learned that when wires complete a loop to both sides of the battery while using conductors and resistors (light bulbs/wires), then you have a complete circuit. When a circuit is complete, the light bulb(s) will light up. We discovered that voltage is what you could call the "push or pull" of electricity, or scientifically known as the potential energy difference. We learned that current is the amount of electrical energy or flow. After we got familiar with these basic concepts, we were introduced to objects in parallel and series. In parallel, the current divides into two or more paths, and then recombines to complete the circuit, and the current lies between the resistors and other resistors. In series, the current follows one path, and the objects are purely linked with a conductor. The voltage will stay the same in the bulbs when they are parallel, but split when they are in series. We were given packets with all kinds of different layouts of circuits and we had to try to work out each circuit. Below are some examples of what we learned:
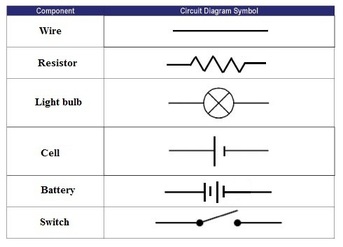
|
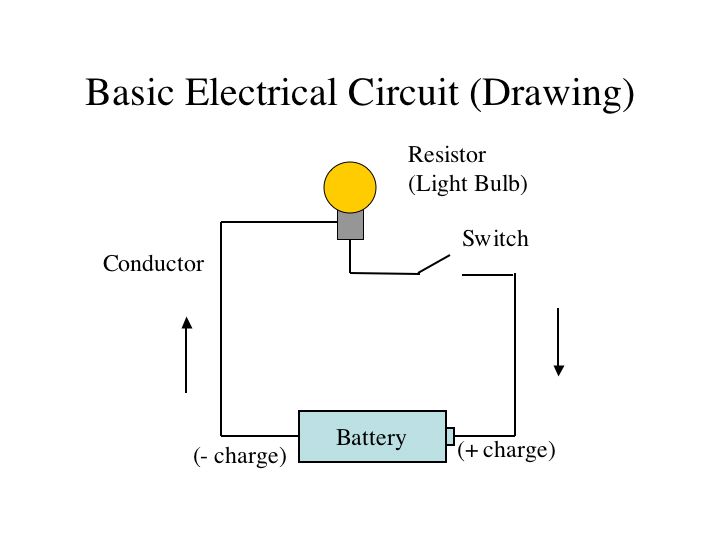
|
|
Breadboards
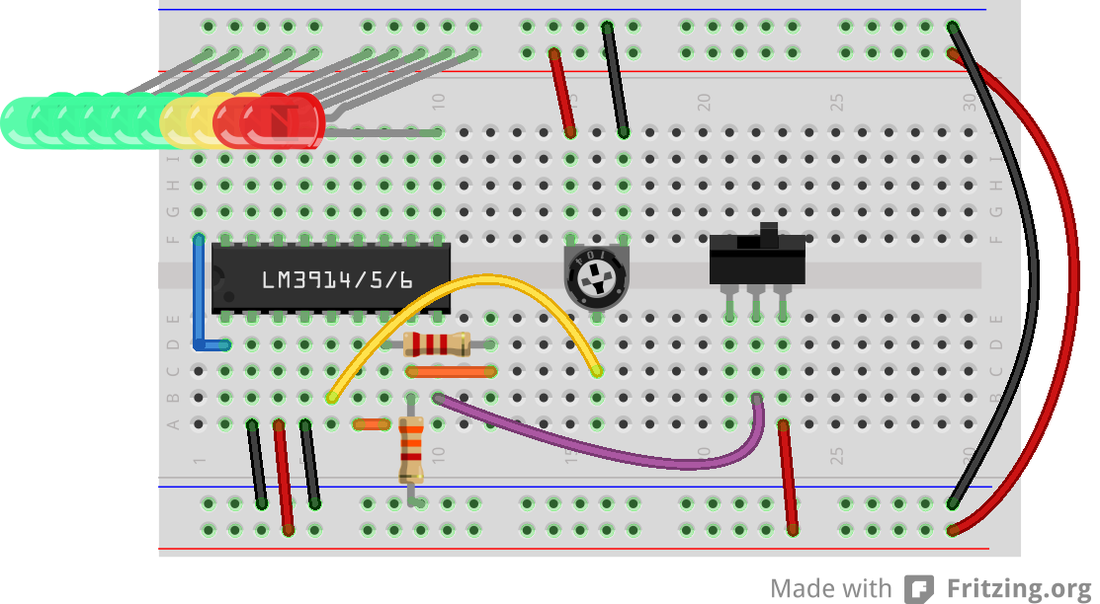
After spending a few weeks understanding circuits, we moved onto the more advanced task of breadboards. A breadboard is an experimental model of an electrical circuit. This particular task was much more complicated, since there were many components involved. We were given Arduino sets that connected with the computer. Some components the sets consisted of are resistors, buzzers, diodes, LEDs, pushbuttons, and transistors. We had to follow very specific instructions from a booklet. There were fifteen different circuits, which all had a different end product. For example, there were blinking lights, buzzers, heat pads, and much more. Before all of this advanced activity, we had to learn about resistors, wires, and how to connect them on a breadboard to complete the circuit. A big part was learning about the resistance of resistors and how to read them. Below is a picture demonstrating how:
Coding
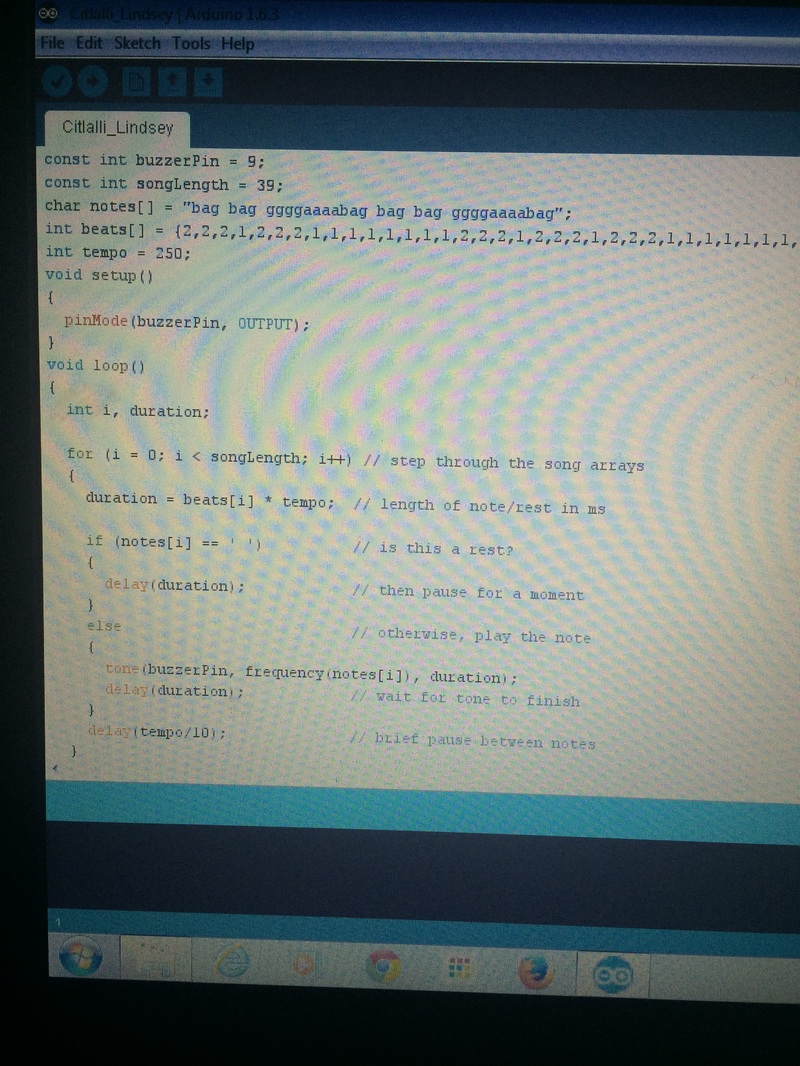
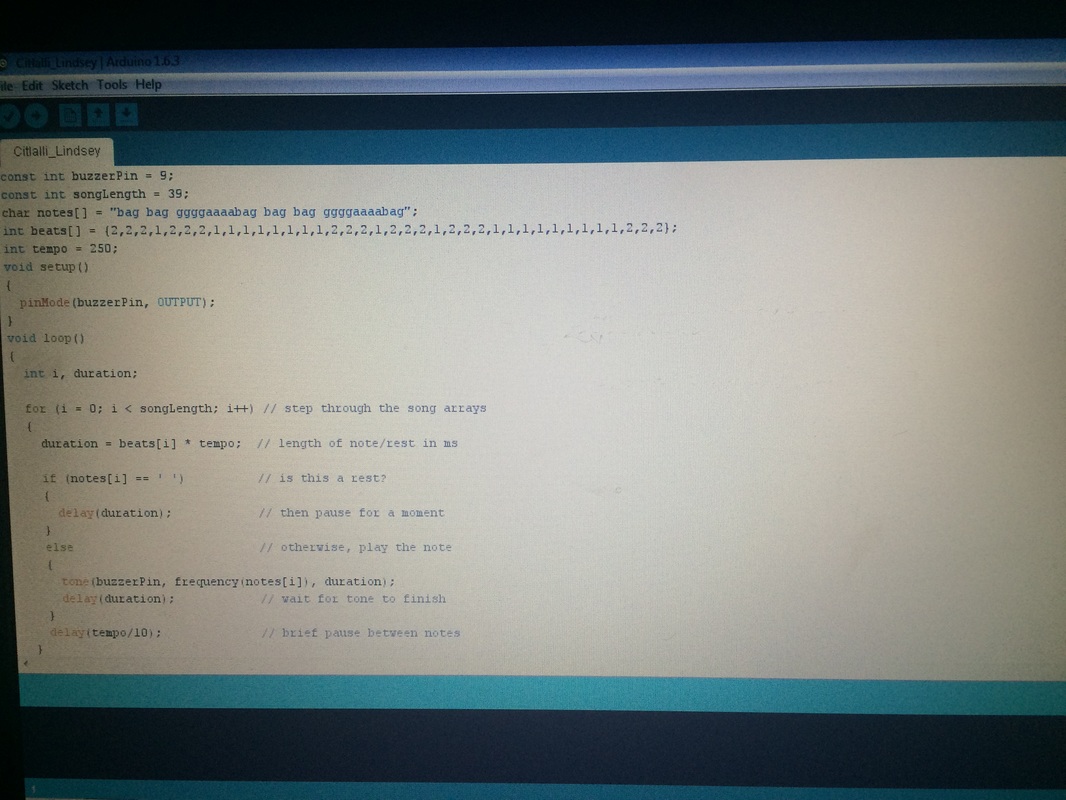
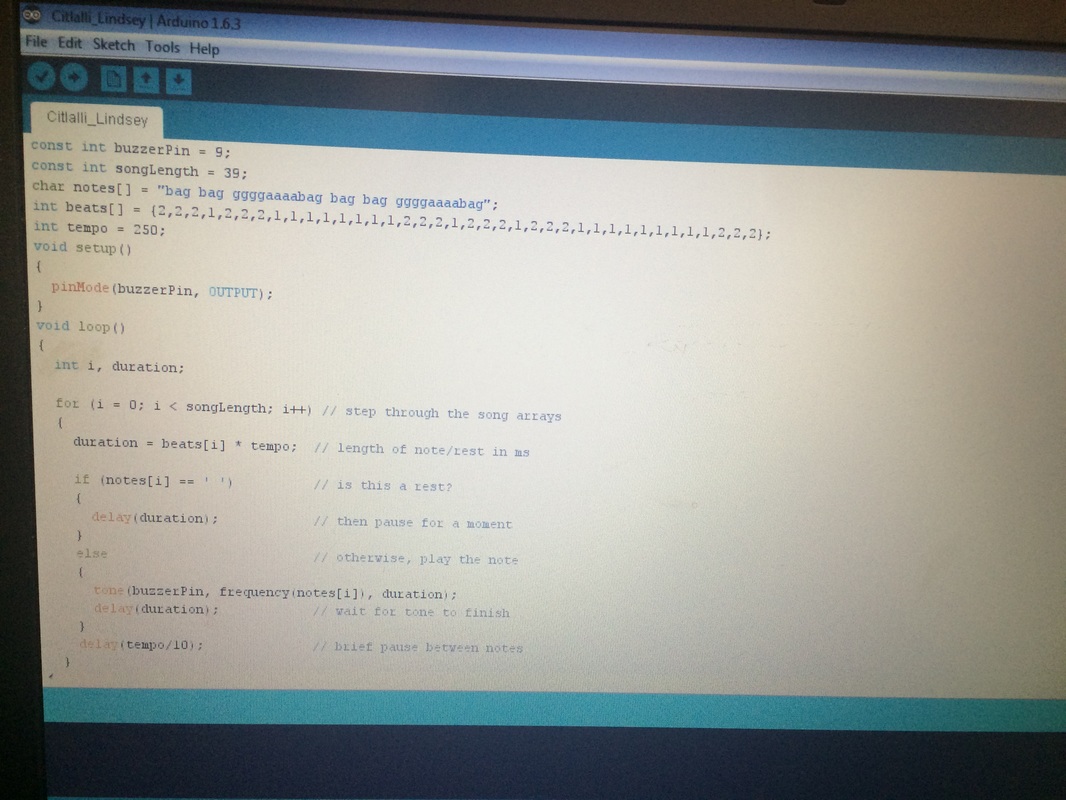
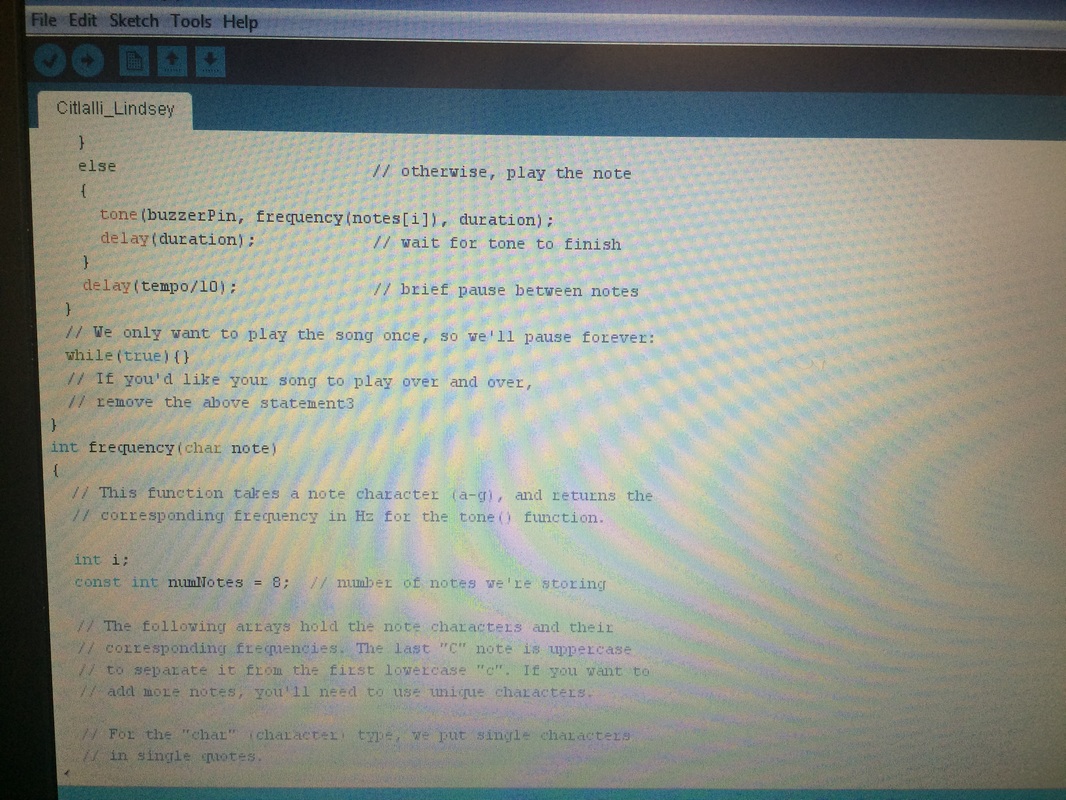
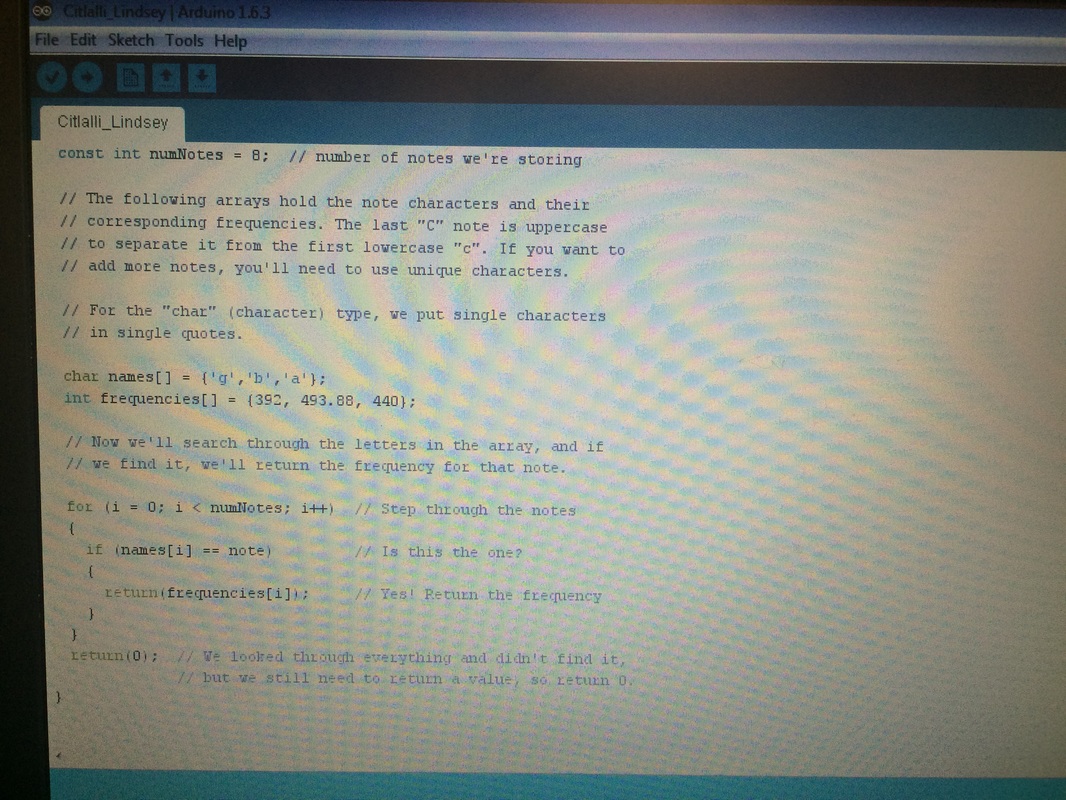
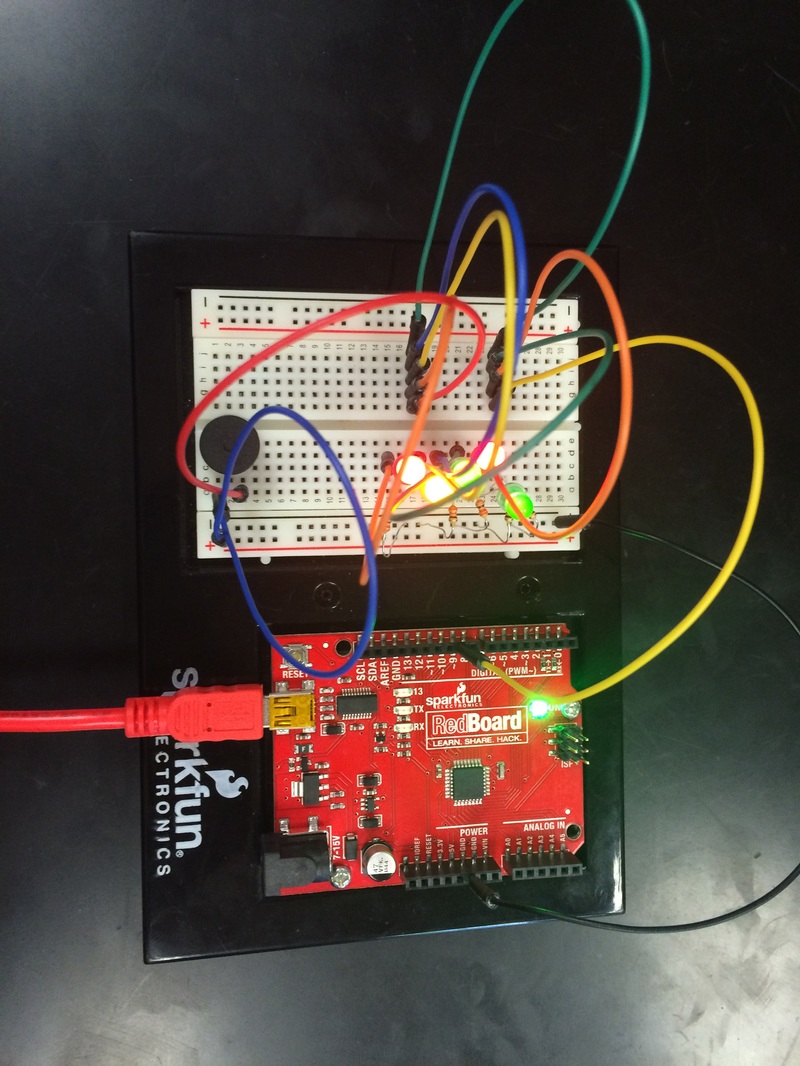
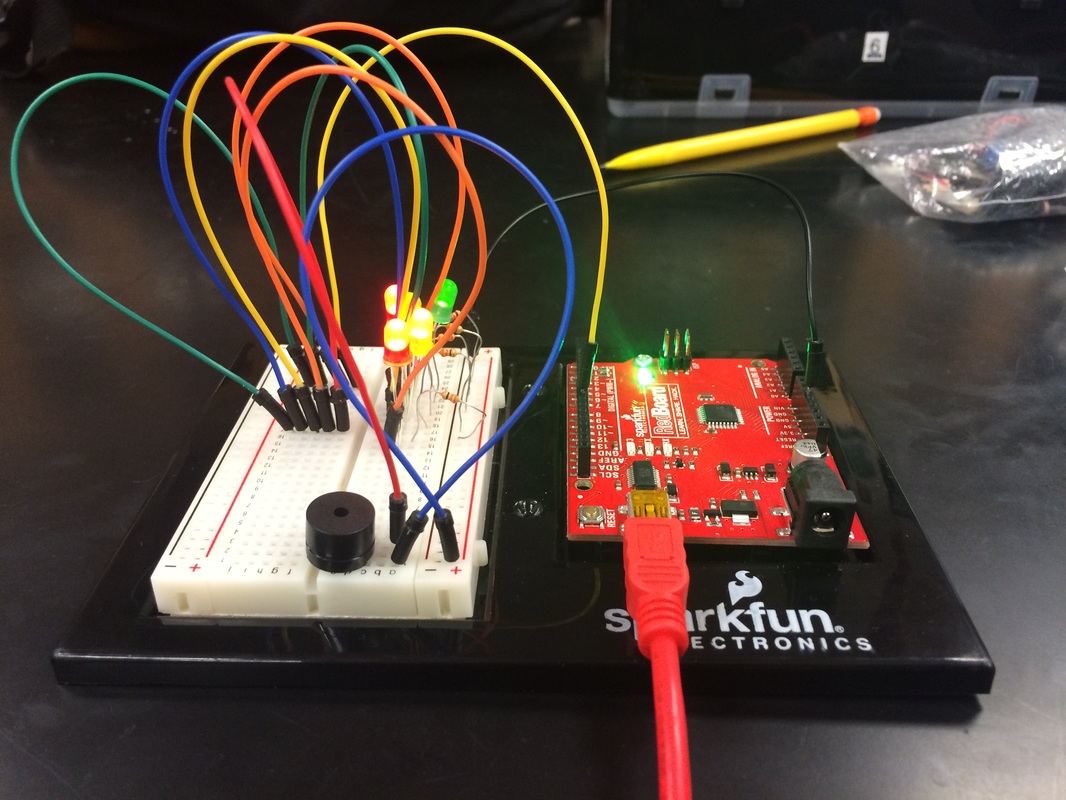
We spent about 2-3 weeks spending time on each individual circuit. We had to understand each code and why it worked the way it did. Our end product was to make our own code that would create a lightshow on our Arduino boards. In order to be able to make up our own codes, we had to make sure fully understood each one from the booklet. Coding was for sure the hardest thing I've done all year. It was so detailed, there could be an error from just one missing comma or semicolon. We spent a crazy amount of time looking at the error messages and trying to find where we went wrong. When we finally made our end light show, it was so rewarding after all the hard work we put in. Below are pictures of what our code and end product looked like:

Concepts
current - amount of electric energy or flow
voltage - "push or pull" of energy; potential energy difference
conductors - material that transmits sound, electricity, or heat
series - flow or route of electricity in one path
parallel - flow or route of electricity that has a connection and a branched path for each load; more current than series because more resistance
battery - container with one or more cells where chemical energy is transferred to electricity and used as a power source
circuit - a completed loop made of conductors including a power source (battery)
LED - semi-conductor that emits light when conducting current; light emitting diode
multimeter - instrument that measures current(Amps), voltage(Volts), and resistance(Ohms)
potentiometer - a three-terminal resistor that can be adjusted to the needed resistance
resistors - device designed to have resistance against travel of electric current
Ohm's Law - Voltage = Current x Resistance (V = IR)
node - point on circuit where two or more circuit elements meet
capacitor - device that can store electric charge with an insulator separating one or more conductors; charge and discharge energy when necessary
LM386 amplifier chip - a integrated circuit with a low voltage power amplifier
cathode - negative charged electrode which electrons enter; supplies current
anode - positively charged electrode where electrons leave a device; supplies current
diode - semiconductor device with two terminals but only allowing in current from one direction
syntax error - when a character or string is improperly placed in an instruction and the command fails to be executed
for loop - programming language statement that permits a code to process repeatedly
Reflection:
This project was definitely the most challenging, but I learned so much. I was very lucky to have a the group I did. However we had a few pits. One of them was our lack of focus. We were in a group of all girls, and we are all friends, so we would often get off track. Next time, we should make sure to get our work done for the day, and then we could have time to talk and relax towards the end of the class. Another pit was our lack of knowledge in this subject. A lot of the other groups got stuff done a lot faster than us, and we struggled. Mr. Williams could only be one place at once, so we did a lot of sitting around wasting time waiting for his help. In the future, we could ask our peers for more help instead of waiting for the teacher to come help us. Despite these challenges we faced, we had some peaks. We had very good communication. Most of this project was partner-based, so when one pair was confused, the other partnership would help out. This was really helpful and was an easy resource to get help. Another peak we had was continuing to persevere, even when we got frustrated. Citlalli was my partner for the light show, and we ran into some very challenging issues, but we continued to work hard and figure out the problems we faced. This made our end product very rewarding. A skill that I learned about myself was that if I put my mind to something, I can really get it done. I used to give up easily, but this project taught me to keep working hard, and you will be glad you did in the end. Another thing I learned about myself is that I am good at keeping my teammates on task. Something I could improve on is my ability to manage my time better and not be rushing at the end. Overall, I was very happy with how this project turned out, and I learned a lot!
